


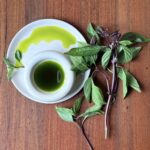


Fresh is best but not all of us have year round access to fresh Thai basil. What to do when you get your hands on a beautiful bunch or two? Eat all you can! But chances are, you'll have leftover and good Thai basil should not be wasted. You can make Thai basil oil to preserve it as a vivid green herb oil, or preserve whole leaves by freezing them.
Many cooks freeze Italian basil in oil or as pesto cubes but for Thai basil, I like to blanch then freeze the leaves. Why? First off, most of the time, Thai basil is added to a dish at the table or to finish a stir-fry like the iconic Thai bai gaprao (which is technically made with holy basil but you can prepare it with Thai basil too). Freezing Thai basil with oil for such uses wouldn't allow the herb to function well in Southeast Asian dishes.
I've tried freezing raw Thai leaves, but they just discolor and turn to mush after thawing. The loss of color and texture come from natural enzymes that exist to decompose plant material. If the plant is left raw, the enzymes keep doing their work, even if the plant material is kept frozen in the freezer. If you dunk basil leaves in hot water then you'll stop those enzymes by killing them.
How to freeze Thai basil leaves
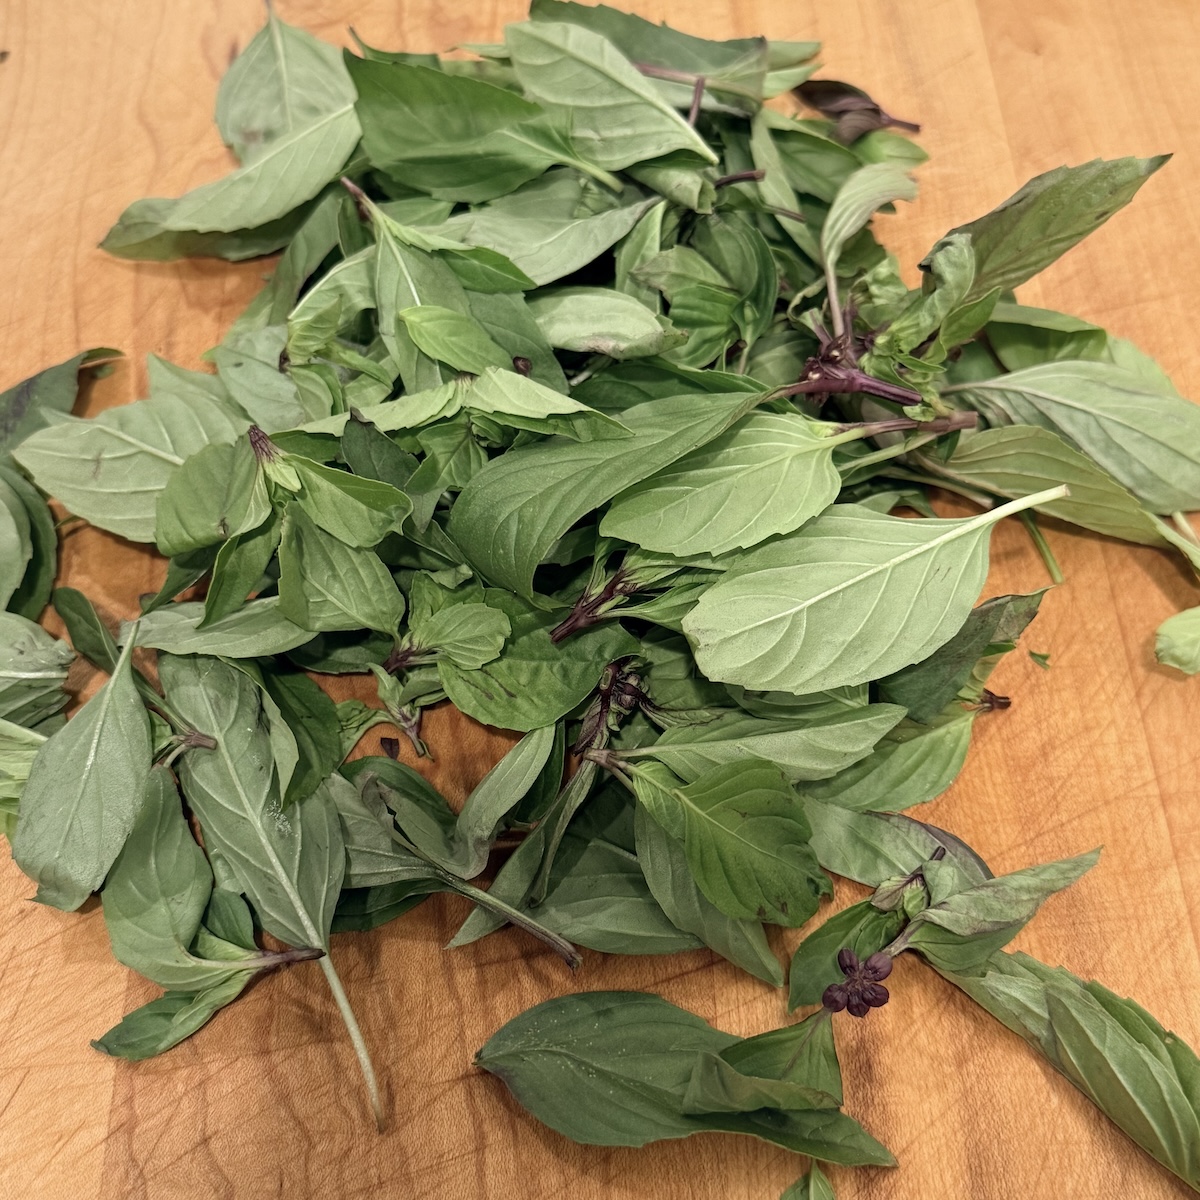
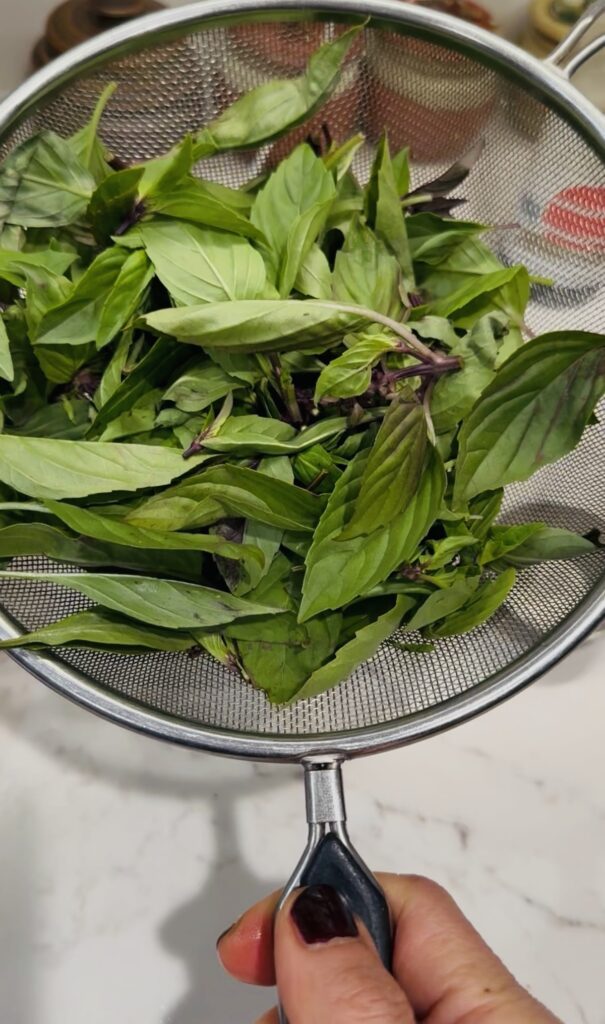
Prep and set up: Wash the sprigs then pinch off the leaves and tips. Select a wide pot or deep skillet plus a wide mesh strainer for blanching the basil. Test the mesh strainer's ability to sink deeply into the pot. You want to very quickly submerge the leaves in very hot water and then pull them out. Practice the dunk or else you'll fumble like I did my first time out! and I over blanched my leaves. When satisfied, add water to the pot and set it over high heat to bring it to a boil.
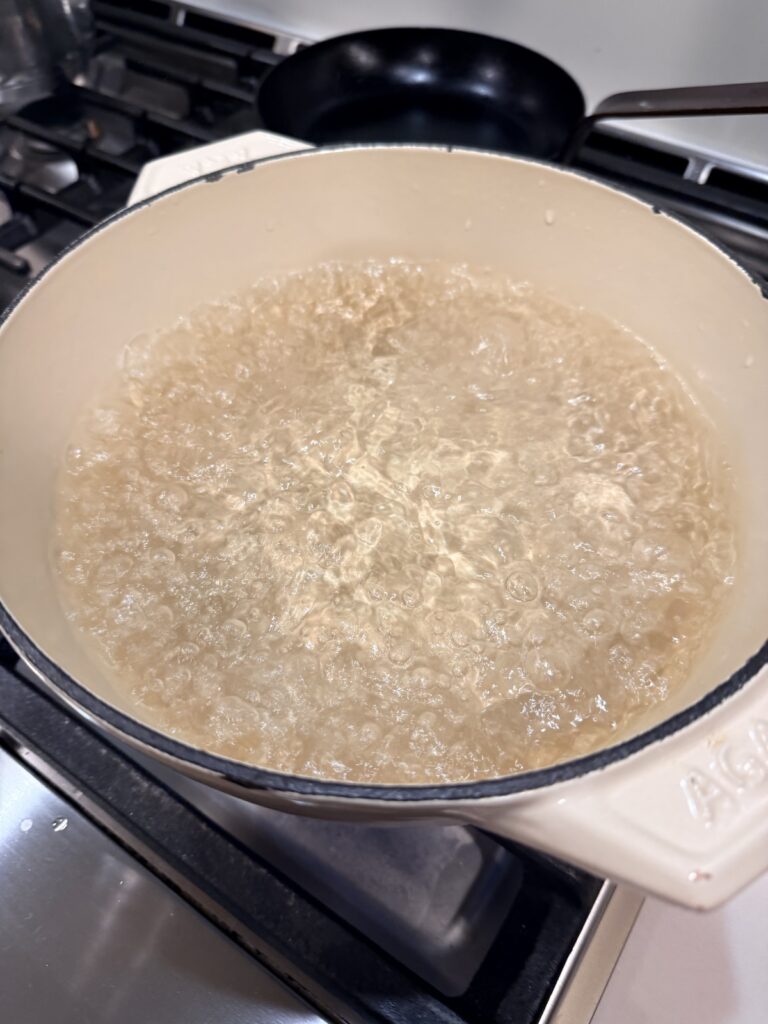
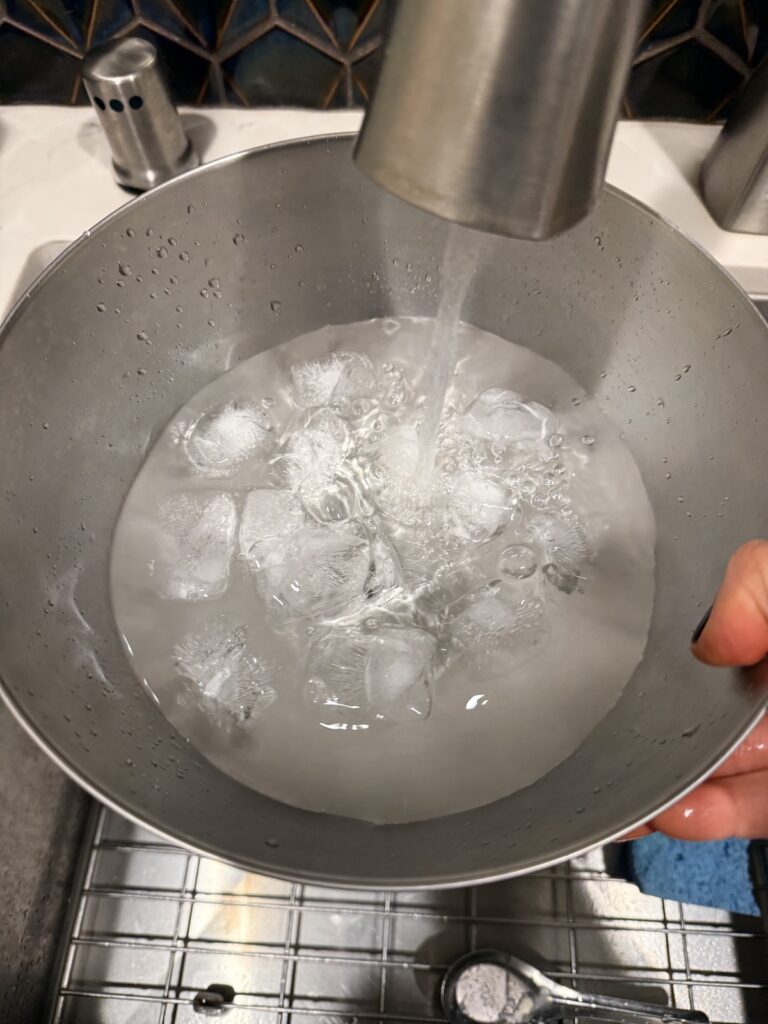
Very quickly blanch: Meanwhile, get a large bowl and put an ice tray's worth of ice cubes (about 12) in the bowl. Add enough water for the ice to float. When the pot of water comes to a boil, put all the basil leaves into the strainer then dunk it into the pot. If needed, gently stir the leaves to submerge and wilt them all. The dunk-and-wilt step should only take 2 to 3 seconds total. I've let it go longer and lost flavor to the water in the pot. Afterwards, if you spot discolored leaves like the one in the right hand photo at center, remove them if they are too dark and sad in color and flavor.
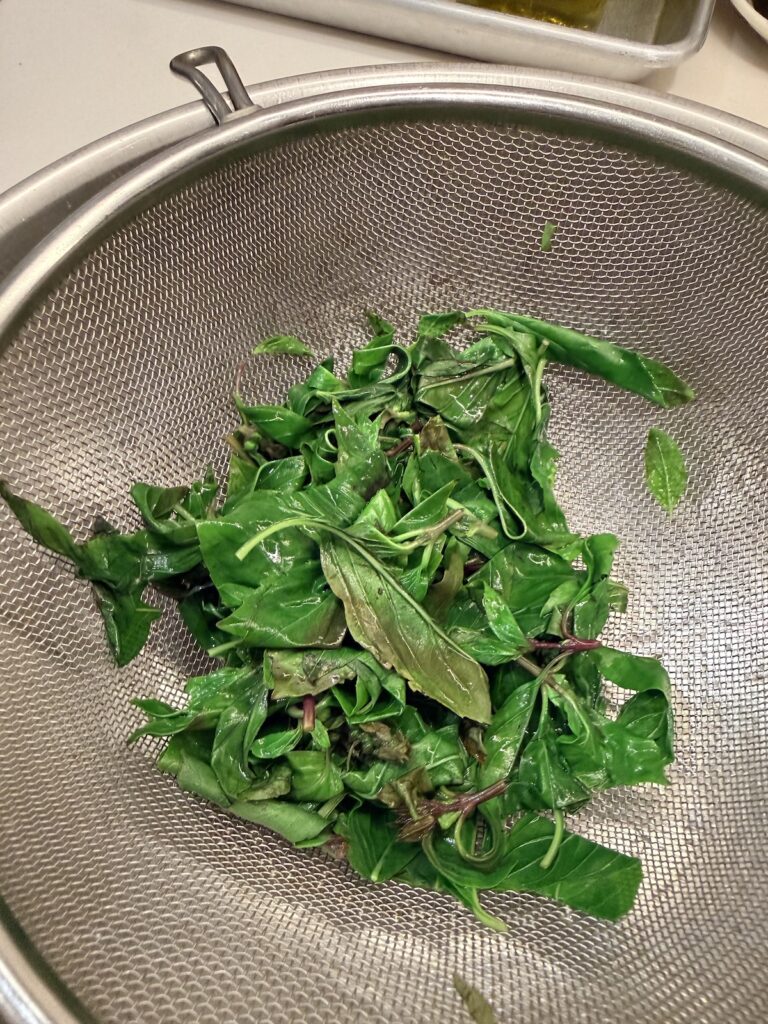
Cool then drain and dry: Set the strainer containing the blanched leaves in the ice bath (or dump the leaves into the bowl if your strainer won't easily fit). Let cool for 2 to 3 minutes then remove the strainer (or scoop out the leaves).

Arrange the leaves on a clean dry dishtowel more or less as a layer. Use another dishtowel to blot or pat away excess moisture. (Or, roll the dishtowel up to remove excess moisture then unroll.) Let air dry for 30 minutes or so, to dry a little more.
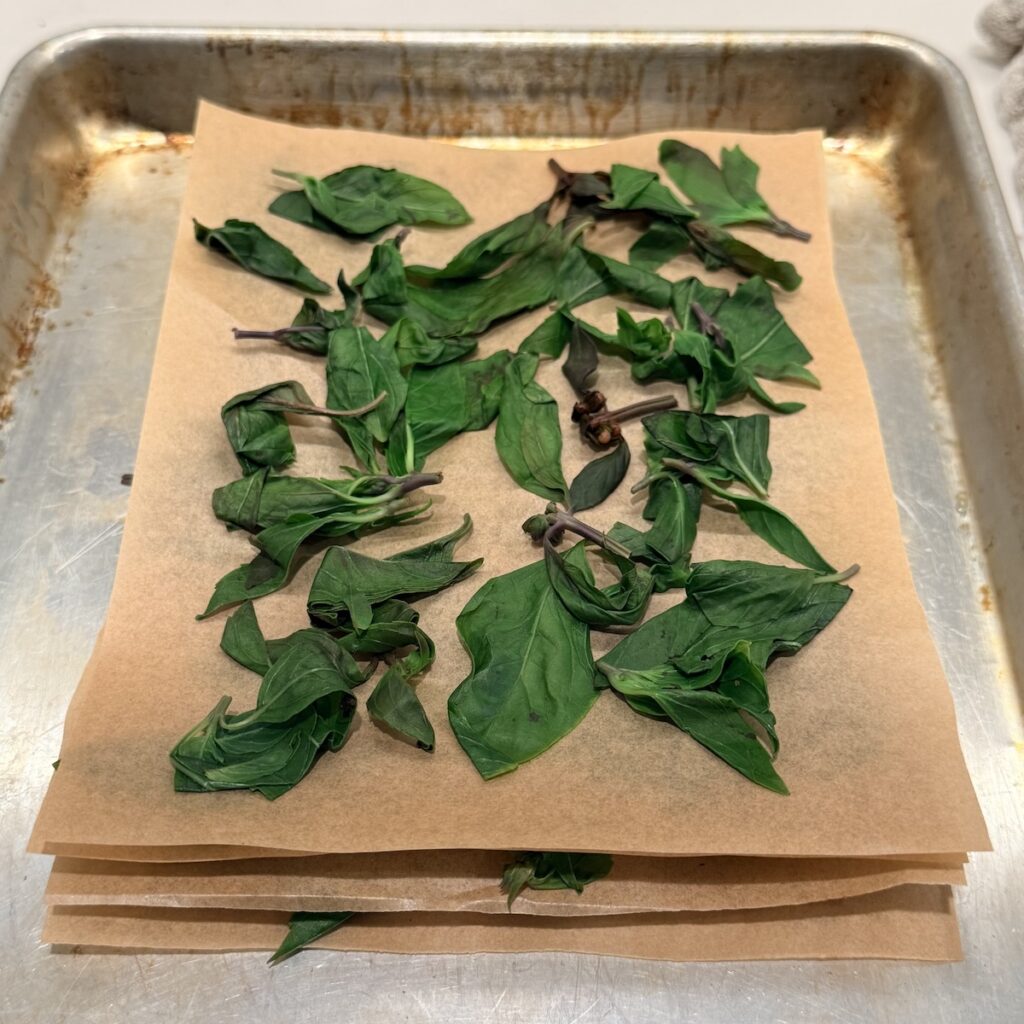
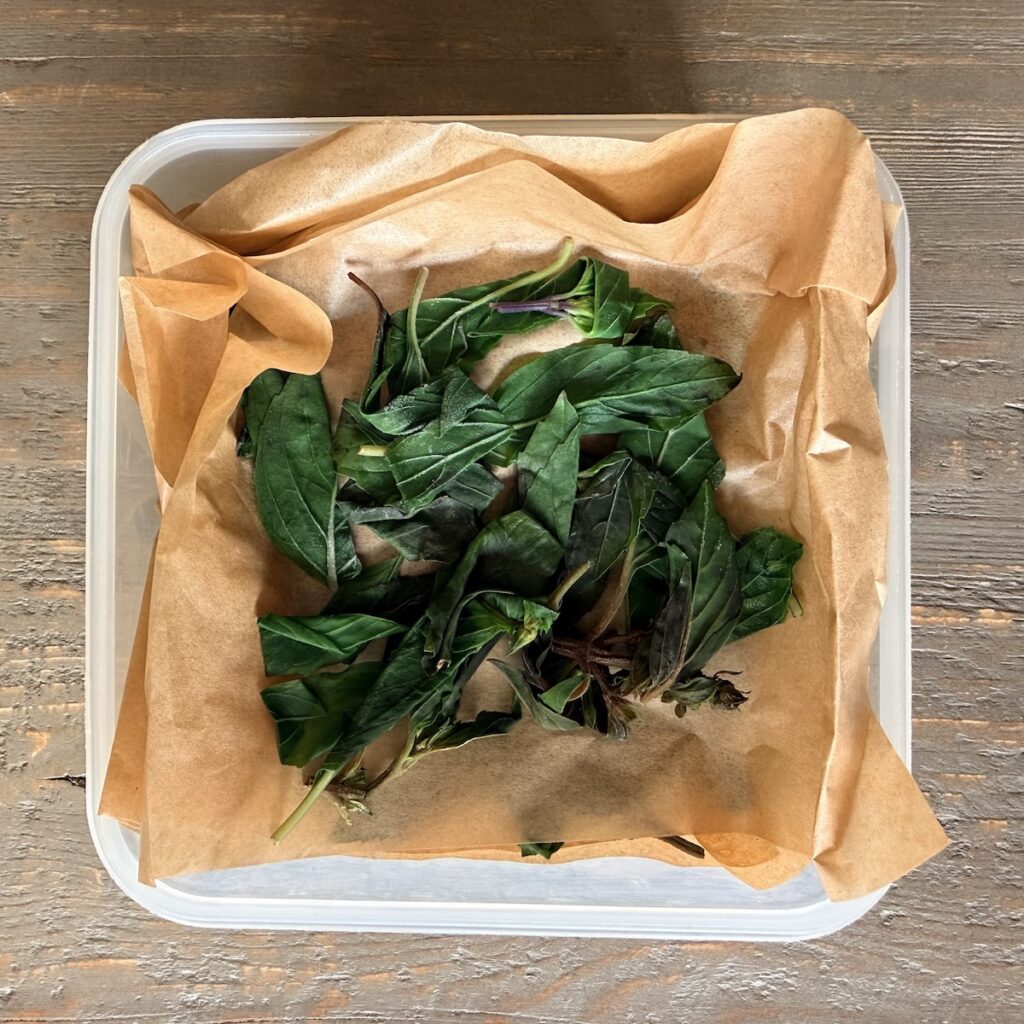
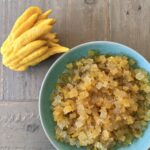
Freeze then refreeze: Arrange the blanched Thai basil leaves on parchment as a layer (wrinkles and a few overlaps are fine), then freeze, uncovered until hard. (I cut small pieces of parchment and layered them to later store them in a box later on.) Transfer the frozen basil, with or without the parchment, to an airtight storage container and keep frozen for up to 3 months. Frozen basil thaws in minutes. Once the leaves are blanched, they don't take much space. I could have omitted the parchment paper and fit more blanched frozen leaves in the box!
To use frozen Thai basil leaves: Only thaw what you need. Expect to use about one third more than what the recipe calls for in fresh Thai basil leaves. That's because blanching and freezing removes some of the fresh flavor. Plus, you can never have too much Thai basil so why not err on the side of using more for a dish?
Try this method next time time you have an excess of Thai basil leaves. Let me know your thoughts!

Leave a Reply